
Lace, especially the effect of blocking on it, has always been a source of fascination for me. I am amazed that such puckered and puffed knitting can be turned into a wonderful piece of lace by wetting and stretching. I thought you might be interested in the journey of a lace shawl from the needles to wearable art.
In my last post I mentioned Lotus Blossom shawl that I started over a year ago.
Here is what it looked like on the needles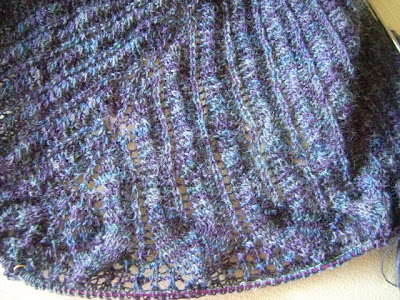
Not much to see, I admit. But I had faith in the power of the block so I persevered.
It was cast off on Sunday. Here is what it looked like right off the needles.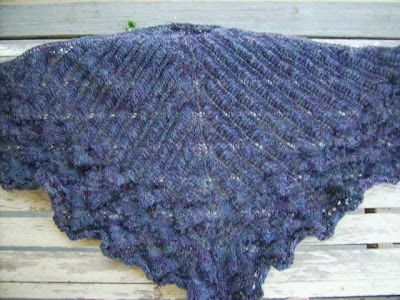
Nice color but rather puffy and puckered, don’t you think?
Now to submit it to a little torture. First, I toss it into a bit of soapy water. I used tepid water and a little bit of Eucalan for my soak. 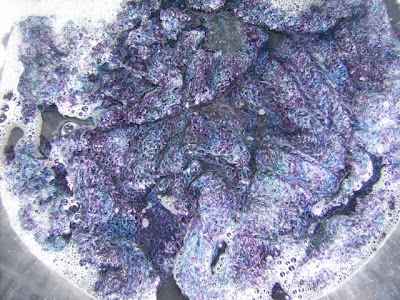
While it is soaking, I collect the torture devices and set up the torture chamber.
Here are the necessary supplies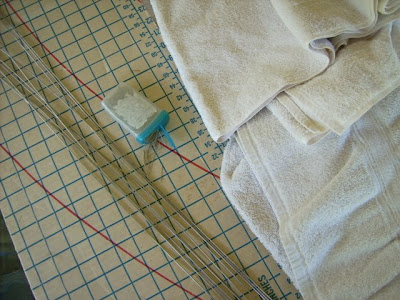
A cheap cardboard cutting board, some stainless steel welding wires, pins and towels.
First I spread the cutting board on top of my patio table.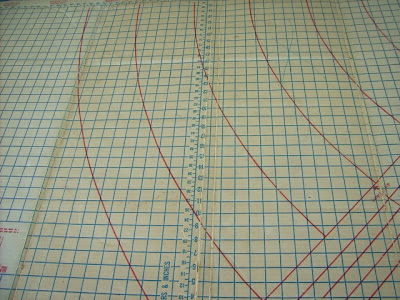
Can you tell I have had this cutting board for a while?
Next, I covered the cutting board with thick towels – to protect the cardboard not the shawl.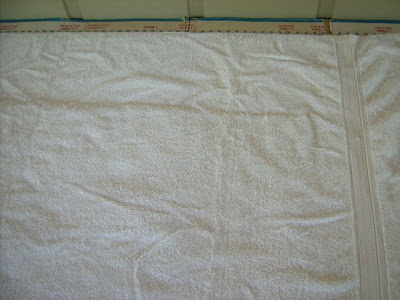
Notice that I lined up the towels with one of the grid lines from the cutting board to give myself a straight line reference.
Now that the blocking table is set up, it is time to take the shawl out of the soak.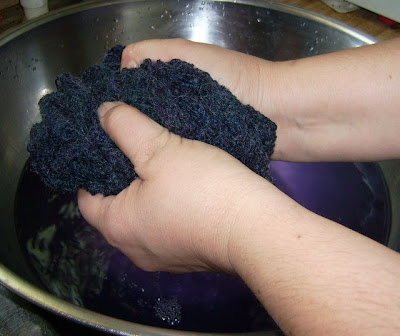
And gently squeeze out the excess water.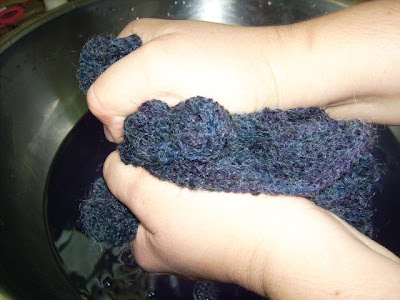
Notice that the yarn bled a little. Most of the darkly colored wools that I have used will bleed a small amount on the first wash.
Then roll the shawl in a towel to remove some of the excess water. 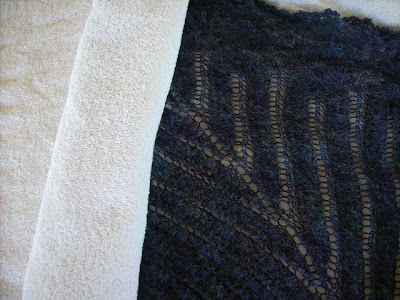
Don’t try to wring it too much because you want the shawl nicely damp for the blocking.
Here is where the fun starts. For the top edge of the shawl, I inserted two welding rods to get a nice straight edge.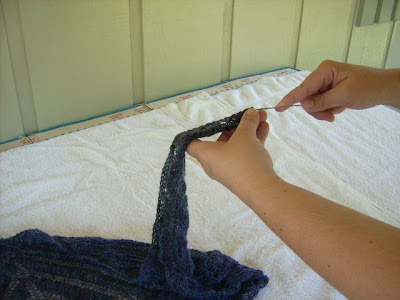
To insert the wire, I wove it in and out of the stitching along the first row on knitting. 
It is a tedious process but using the wire makes a much straighter edge than pinning.
I used two wires because one was too short. 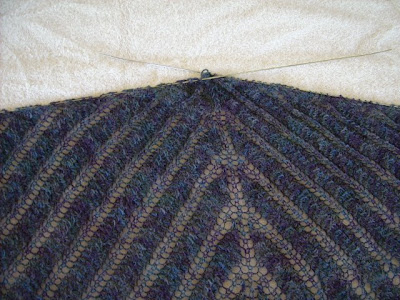
They are crossed in the center back. Notice that the stitches are flatter and the design is starting to show already.
Time to start the stretching. Working from the center outward, I stretched the top edge of the shawl and pinned it along my straight edge.
Again working from the center down, I gently stretch and pin the shawl. 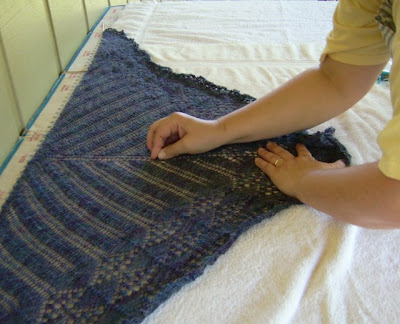
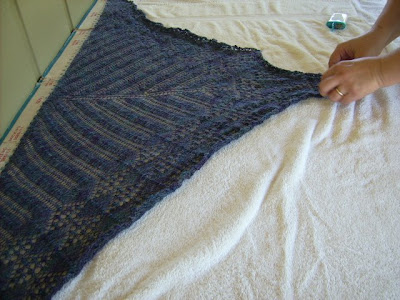
The process of stretching and pinning continues – always working from the central line outward toward the edges.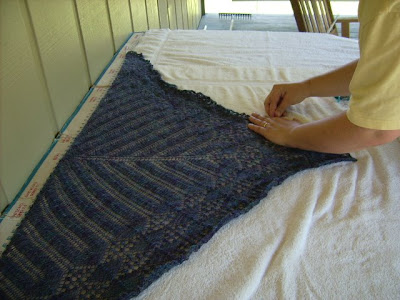
Once the center is pinned, you continue the stretch and pin process for each of the points of the shawl. 
Notice how visible the design is becoming as the shawl is stretched.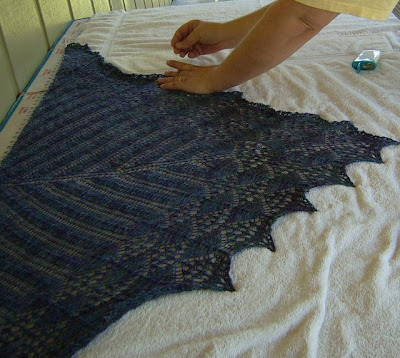
The process is not a fast one. And it will require the occasional readjustment of a pin once the lace is fully stretched but do you see that miracle happening?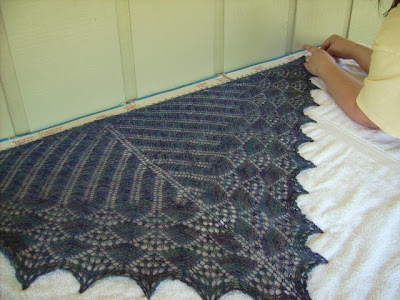
Shawl pinned, I realize that I need to make a couple of adjustments to the pinning.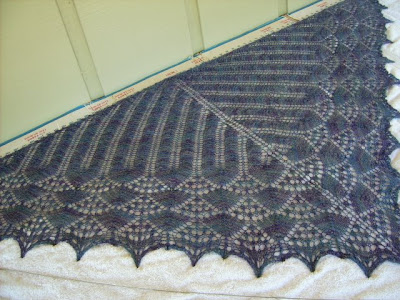
Here is the shawl fully pinned.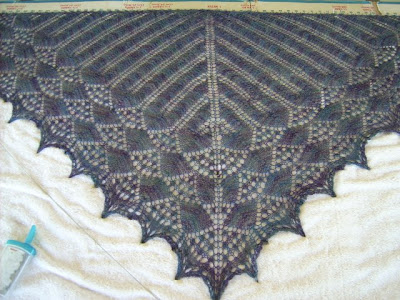
Quite a difference from the way it looked right off the needles, huh?
Here is a close up of the center back motif.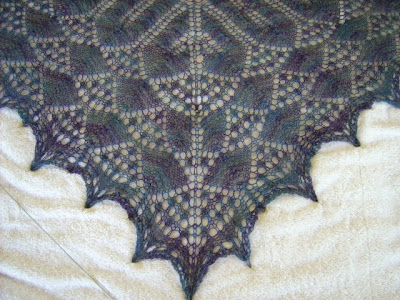
Amazing the difference a little stretching makes.
Now allow it to dry for a couple of hours, remove the pins and wires and your beautiful lace is ready to be properly photographed.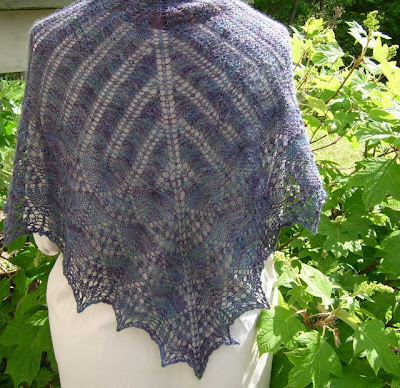
Lighter weight yarns – this one was light fingering – dry pretty quickly. But do make sure it is completely dry before removing the pins. It might be tempted to pucker if you remove them too soon.
Gratuitous lace photo. 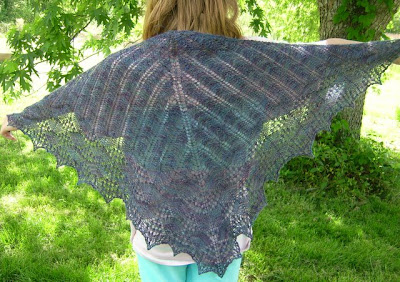
More gratuitous lace. Bear with me. This took over a year to get it off the needles.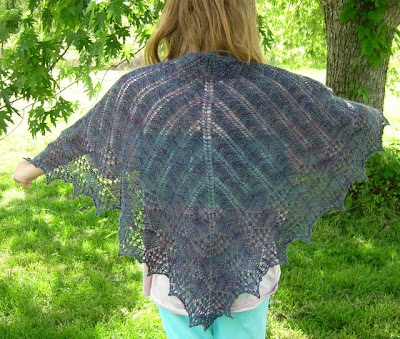
The pattern by Dorothy Siemens and available from Fiddlesticks Knitting. It was a fun knit and I am very pleased with the results. The pattern is fully charted. The charts are big and easy to read. No need for the highlighter tape on this one.
This pattern was my first that was charted to the center stitch only. This required you to read the chart one way for the first half of the row and then read it in reverse for the second half of the row. This took a little getting used to – especially at the center back when you reverse the order of the stitches. But once I got the hang of it, the charts were really easy to follow. I found writing the row numbers on the left edge of the chart really handy.
The yarn was Schaefer Anne, a light fingering weight wool-mohair blend. It took under 560 yards to knit the shawl. I love the vibrant colors in this yarn and am very glad that this gorgeous skein became a shawl instead of socks that were originally planned.
LOVELY! 🙂
LOVELY! 🙂
That is a beautiful lace shawl. Did it really take you a year or did you do it during the year with like 20 other projects going on at the same time? Loved the lesson on blocking, too. Thanks for that.
That is a beautiful lace shawl. Did it really take you a year or did you do it during the year with like 20 other projects going on at the same time? Loved the lesson on blocking, too. Thanks for that.
This is really incredible! What a lovely piece. Such an informative post. Please link this with Fiber Arts Friday at http://www.alpacafarmgirl.com
(or I can with your permission) Valuable info for readers.
Thanks for sharing this.
This is really incredible! What a lovely piece. Such an informative post. Please link this with Fiber Arts Friday at http://www.alpacafarmgirl.com
(or I can with your permission) Valuable info for readers.
Thanks for sharing this.
Your shawl is so beautiful! My favorite colors:) Thanks for the blocking tutorial!
Your shawl is so beautiful! My favorite colors:) Thanks for the blocking tutorial!
Beautiful shawl! I use foam play mats from the Wal-mart toy department for my blocking boards. I’ve got blocking wires on the wish list. What size welding rods do you use?
Beautiful shawl! I use foam play mats from the Wal-mart toy department for my blocking boards. I’ve got blocking wires on the wish list. What size welding rods do you use?
I too love the miracle of blocking. Thanks for your pictorial tutorial. Do you have Victorian Lace Today? I want to know how to block the border of the Myrtle Leaf Shawl properly!
I use a disposable white plastic tablecloth over my cardboard cutting board – I can see the squares through it and the plastic protects the cardboard from the damp! Otherwise my process is pretty much the same.
wow…..it really changes things.
Great job.
It was worth the year.
wow…..it really changes things.
Great job.
It was worth the year.