Seems like ages ago when I posted the rest of the felting tutorials. This one was a bit delayed because the photos came out fuzzy and had to be retaken so please ignore the multiple backgrounds. And now for the long awaited conclusion to the continuing drama of As the Wool Shrinks.
Lesson 4 – Felting isn’t the last step. Or Blocking is Important. Really, really important.
One of the first things you will notice when you finish felting your knitted piece is that it sometimes looks very little like the desired finished product. That is because most felted items also require blocking to look the way they should.
For example, here is what the Lily Alexania hat looks like right from felting.
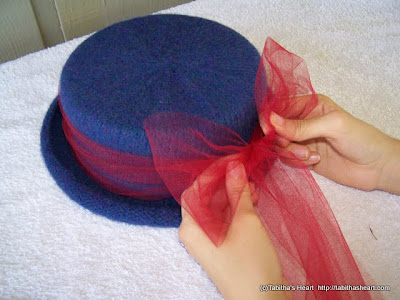
And this is what the finished hat looks like.
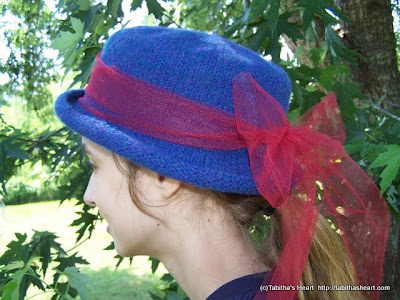
Not a lot alike, huh? This is the time when blocking comes in really handy. Here is what you do to block your felted hat.
First, you will need to gather a few supplies.
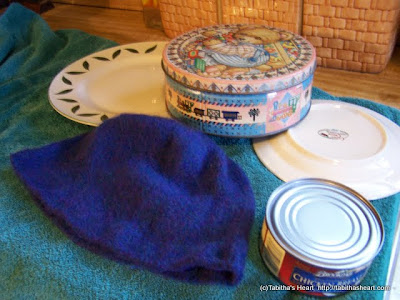
You could use an expensive hat form or you can gather some household items to form the hat into it’s desired shape. I used a cookie tin, a can of chicken and a couple of plates but anything you find around your home that is the right shape and size will work.
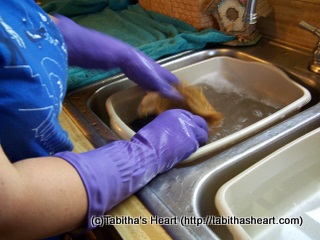
Next, stretch your piece lengthwise.
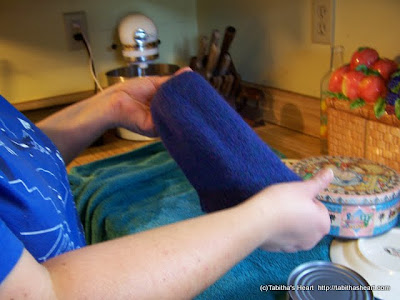
During felting the stitches tend to bunch up lengthwise more than widthwise. A good stretch helps return them to a more proportionate shape.
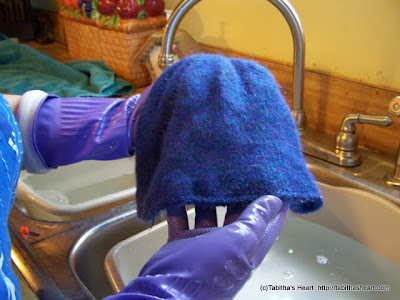
Now, stretch your hat over the form.
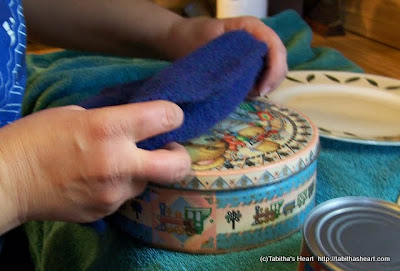
This will give the hat its basic shape. You will need to stretch and shape around the form. You want to hat to really hug the form.
Smooth the top of the hat.
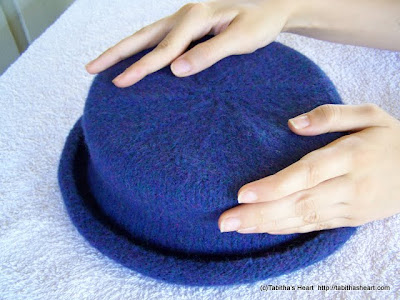
Make sure you stretch it to make the top smooth and flat. Then smooth out the sides of the hat along the side of your form.
Now, shape the brim.
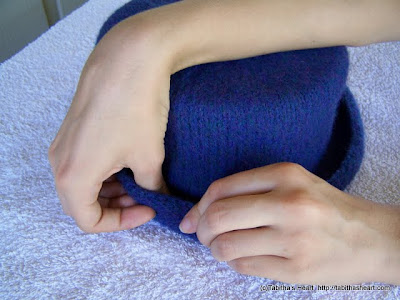
Roll the brim so that your hat can rest flat on your work surface. Then using your thumbs and fingers work your way around the brim stretching and shaping until you have coaxed the brim into your desired shape.
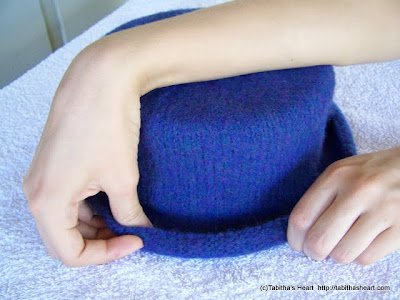
Continue, shaping until you have shaped all edges of the brim.
Once you have the desired shape, place you hat on a surface to dry. I used a plate to help support the brim during the drying process.
When your hat is dry, decorate the band as desired and enjoy.
I learned a lot from this adventure in shrinking but there are still more questions that I have about the process. Don’t be surprised if you see more adventures in felting later.
I got a book out of the library on milinary techniques, I wonder if swirling a hatband out of Petersham would be another good step? Just thinking theoretically here – never done it.
Brilliant! I didn’t know how you got that great shape on the hat. I also love that blue color.