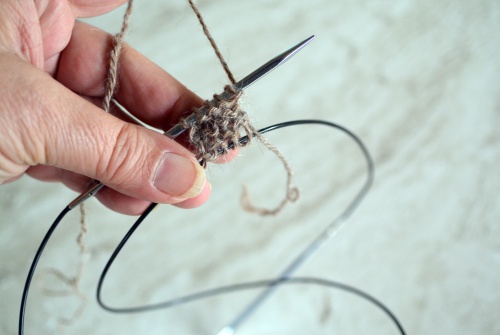
I am constantly amazed at how many ways people describe and work the left leaning decrease known as ssk. I am beginning to think every knitter has her own variation of it. Being the curious sort, I have been researching the different methods you see the stitch presented. I wanted to share a few of these with you.
The wrong way
I know in knitting we say there are no “wrong” ways but with this stitch there is indeed one wrong way. Many new knitters see the definition of ssk as slip, slip knit so they slip 2 stitches, then knit one. While there is nothing wrong with working that sequence in knitting, it does not decrease a stitch so that method is wrong when you are trying to produce a left leaning decrease.
The older way
I discovered quite by accident that ssk is a relatively modern technique in knitting keeping in mind that the craft is centuries old. But if you read vintage knitting patterns you will find ssk conspicuously absent. In older publications, the most common left leaning decreases were sl1, k1, psso (also called skp) and k2tog through the back loop. Some will tell you sl1, k1, psso is the exact same decrease as ssk but that is inaccurate. While they both are left leaning, they do not look the same, nor are they worked in the same manner.
The most common way
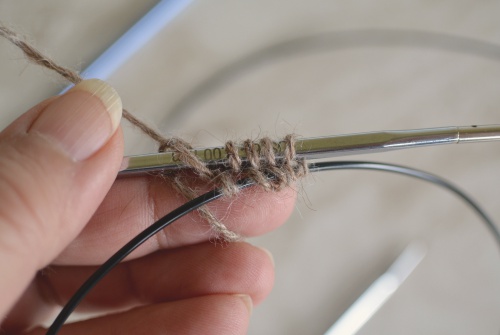
The most common definition of ssk is:
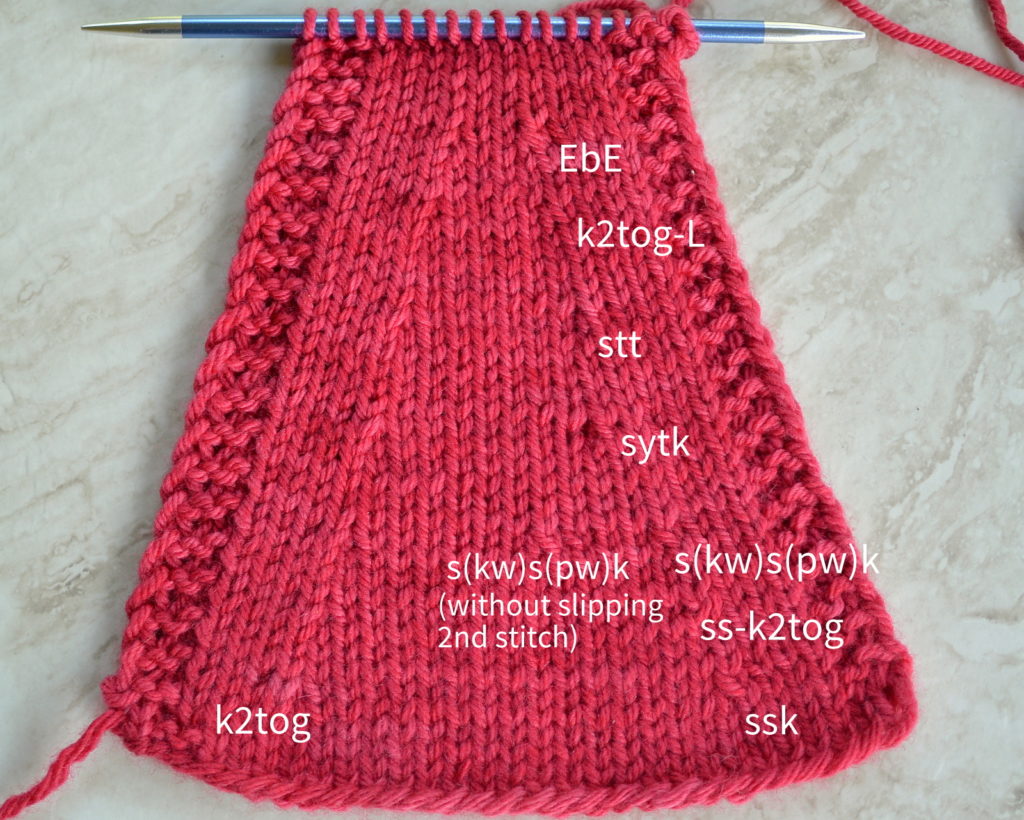
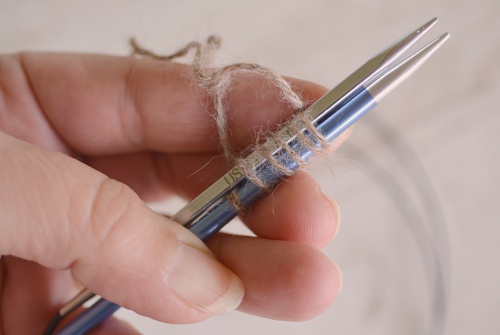
Slip 2 stitches one at a time knitwise (this reverses the stitch orientation), place the tip of the left needle in the front of the 2 slipped stitches and knit them together (i.e. working through the back loop of the stitches).
Working the k2tog through the back loop works the stitches without changing their order or orientation.
The not quite as common way
Another fairly common definition you will see for ssk is:
Slip 2 stitches one at a time knitwise, knit the sts together through the back loop. (sometimes the instructions tell you to return the stitches to the left needle).
This produces the same results as the previous method. The only difference is that the definition makes it clearer that you are working the stitches through the back loop and is a little more concise.
The abbreviated but ambiguous way
This one appears on the Craft Yarn Council website and a couple of other websites who use that information for their stitch definitions:
Slip 2 stitches one at a time knitwise, knit these two stitches together.
The concern with this definition is that it either produces a different result or it assumes knowledge. If you work the decrease exactly as written, when you knit those stitches together, you will be reversing the order of the stitches, causing the decrease to lean more to the right than to the left. That said, to knit those 2 stitches in through the front loop takes a bit of maneuvering. They will need to be transferred back to the left needle to make the k2tog work through the front loop. The more natural way to work it would be to leave the stitches on the right needle and work them through the back loop as defined in the first method so knitters who are accustomed to doing this decrease will work through the back loop instinctively. So, this definition can produce the correct result but it leaves lacks a bit in clarity.
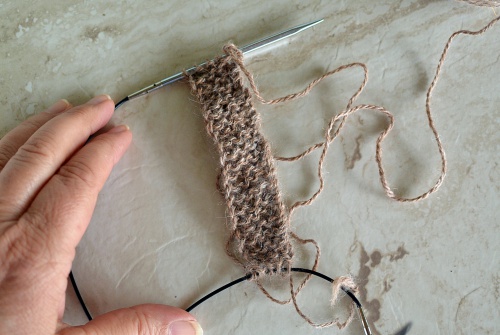
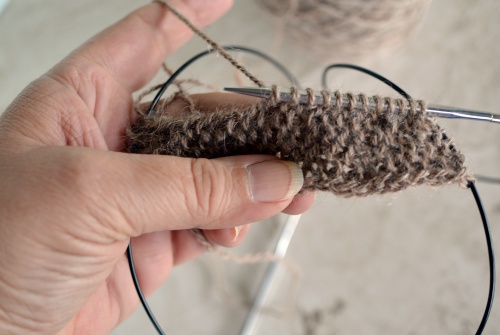
SSK variations – the matchy-matchy ways
There are many variant ssk techniques that are intended to better match k2tog in patterns with mirrored decreases (like the shoulders of a sweater). Some of them produce results that aren’t significantly different than a plain, old ssk so may not be worth the trouble. And others are so involved that only the most OCD knitters would be willing to go through that many steps just to have their armhole decreases neater. Here they are, in the order I discovered them.
Knitwise/purlwise
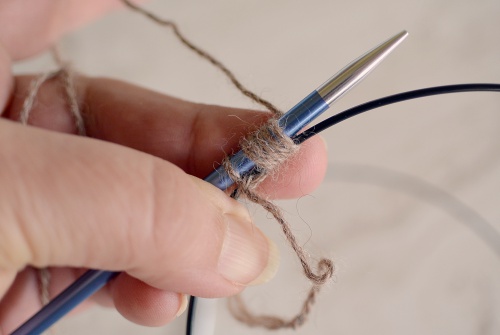
I have seen this technique called dozens of different names but the main change between it and the common ssk is that instead of slipping both stitches knitwise, the second stitch is slipped purlwise (or not slipped at all but I will get to that in a minute). The definition becomes:
slip1 knitwise, slip 1 purlwise, knit the 2 slipped stitches together through the back loop.
Slipping that second stitch purlwise flattens out the decrease a little so it matches the k2tog a bit more.
A variation on this that I alluded to in the previous paragraph is:
slip 1 stitch knitwise, return that stitch to the left needle and then k2tog through the back loop.
This keeps the orientation of the second stitch the same as if you had slipped it purlwise but doesn’t stretch the stitch when you work it and it is a little faster because you skip a step. In my own knitting, I get a neater result this way.
Slip, yank, twist, knit
Techknitter came out with this method (that I will link rather than try to explain. This method removes the excess yarn from the second stitch so that the stitches lie flatter and look more consistent with a k2tog. Honestly, while it does beautifully match the k2tog, unless I am looking at the tutorial I can never remember what stitch I am supposed to yank so I rarely use this method. And if you will notice, I ended up getting a bit of distortion on the next stitch after the sytk.
Slip, Twist, Turn
As with Techknitter’s version, this method from YarnSub does produce beautiful results but at a time-consuming cost. At 14 steps, how many people are going to be able to work in unless they are looking at the tutorial? And how many people are going to be willing to do that many steps to have perfectly matching decreases? Not me. Turning the work and working a p2tog-tbl was a deal breaker for me. The stitches I did for this tutorial will be the last I work using this method.
K2tog-L
YarnSub has this method of improving the ssk. This is a further attempt by YarnSub to have perfectly matching left leaning decrease. This way produces neater results, is much easier to remember than the previous method, and doesn’t take significantly longer to do than an ssk. Still, it is tricky to execute and this method is technically no longer an ssk.
Easy but effective
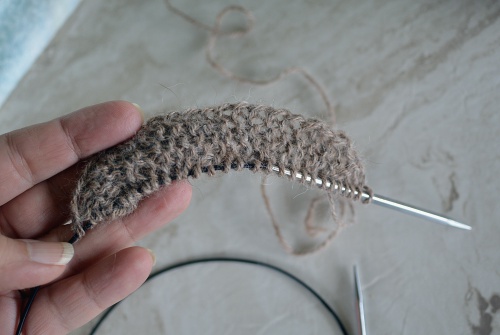
I found this unbelievably easy method on the Cocoknits website. The results are quite lovely. The stitch matches the k2tog nicely and it doesn’t require lots of extra steps. To work it, you work your ssk in the most common method (slipping 2 stitches knitwise and knitting them together through the back loop) or slipping the 2nd stitch purlwise. Then, on the row following the decrease, the stitch created by the decrease is worked through the back loop. In stockinette stitch, you would purl through the back loop. The only tricky part is remembering to work that back loop stitch on the next row.
There you have it. Every way on earth (or at least every way I could find) for working an ssk decrease.
Happy knitting!
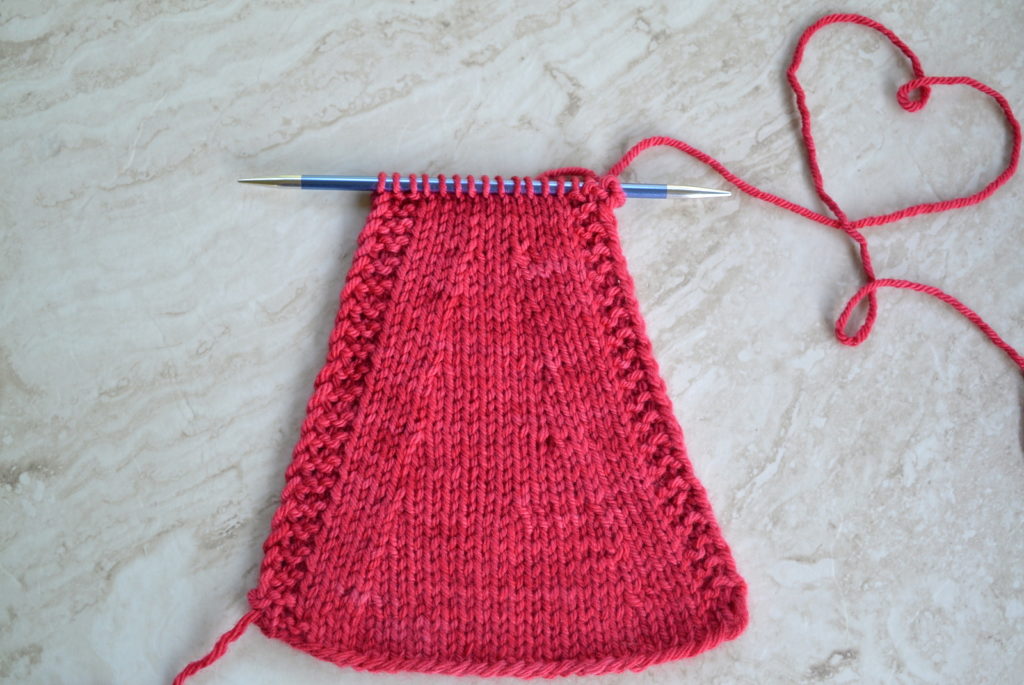
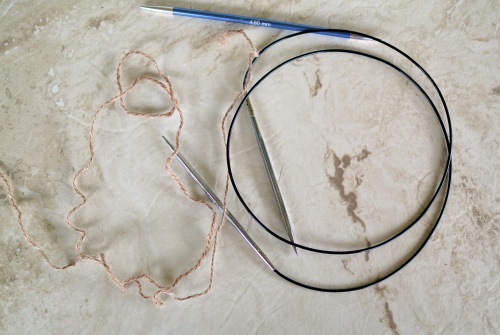
Yarn: Smutzerella Yarns Fondle (100% worsted weight merino) in Dress to Arrest
Needles: Knit Pro Zing double pointed needle US 7 /4.5 mm
Photography supervisor: The Ginger Menace (aka NinjaKitty)


 2017 – See? I told you I was stubborn.
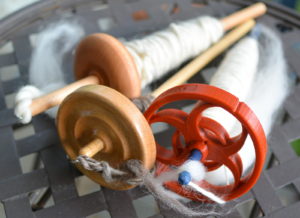 New Equipment
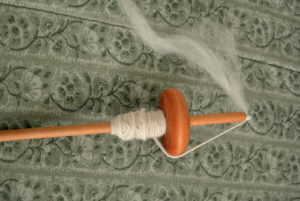
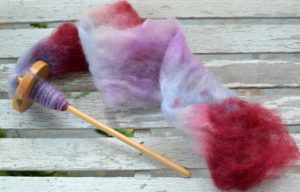 When I tried to pre-draft the fiber, I discovered it wouldn’t draft. Abby informed me this usually means that you have your hands too close together. I moved my hands farther and farther apart, pulling on the strand of roving until my hands were at least 3 feet apart. I don’t know a lot about different breeds of sheep, but I am pretty sure that there isn’t a breed that has a 3-foot fiber length. Something was definitely wrong with my fiber. On closer inspection, I discovered that the fiber had been partially felted during dyeing.
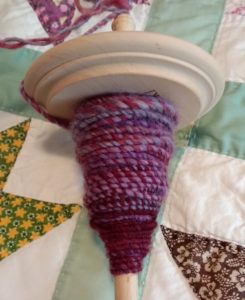 Finally, I had enough yarn spun that I could try plying. I decided this yarn was a good candidate for my first attempt at plying simply because I probably couldn’t ruin it any further. By this time I had acquired a third spindle that was one recommended for plying because of its size. I had transferred the yarn to wooden dowels as I filled my spindle because it was easier than trying to wind balls. So when I had two dowels with close to the same amount of singles, I built myself a makeshift lazy Kate using a tissue box rather than trying to wind a double strand ball.