
In the course of getting Aragorn Gloves pattern test knit, a number of questions arose about the thumb I used for the glove. Elizabeth Zimmermann dubbed this method the “afterthought” method. She used it for sock heels as well as thumbs. The general idea is to knit the stitches needed for the heel or thumb onto waste yarn, then continue knitting your project and come back to the thumb or heel after you have finished the project. This method is super-fast, convenient for travel and doesn’t involve transferring stitches onto stitch holders then back onto needles like gusset methods do. Though perhaps not as elegant as the gusseted thumb, I find the speed and ease of knitting more than makes up any difference in overall look. Without further ado, here is my little photo tutorial of the afterthought thumb as used in Aragorn gloves. For reference, I am knitting the left glove.
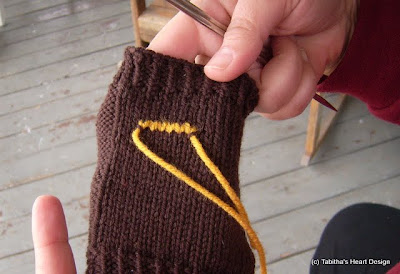
Work until you get to the point in the pattern where you will add your thumb. Drop the working yarn. Picking up a piece of scrap yarn, knit the stitches for the thumb with the scrap yarn. I just held one tail of the waste yarn with my left thumb as I knit the first my stitches.
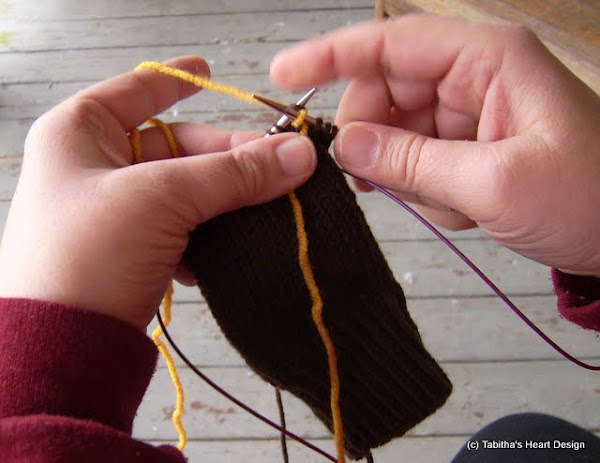
Once you have knit the desired number of stitches (in the case of Aragorn it will be 6 stitches), transfer the stitches back to the left hand needle by slipping them purlwise one at a time.
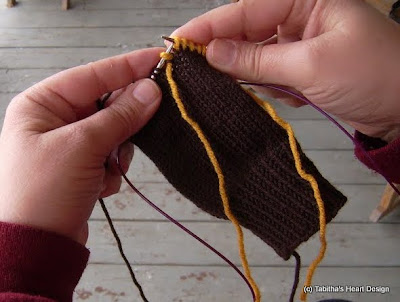
Picking up the working yarn again, rework the stitches that you knit onto scrap yarn. You will have worked the same six stitches twice.
When you have completed reworking the stitches your glove should look something like this.
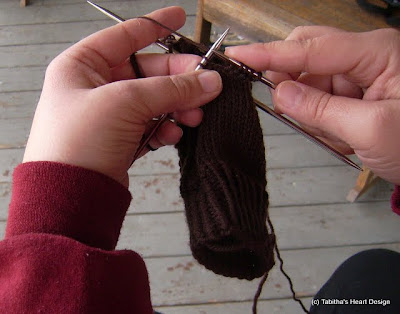
Continue working in pattern for the rest of the glove. When you have completed it, you will have something that looks like this.
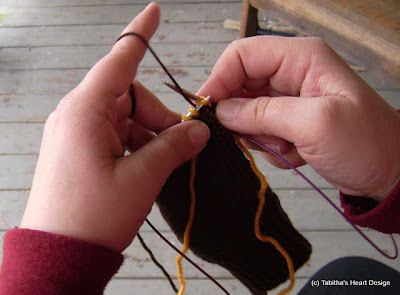
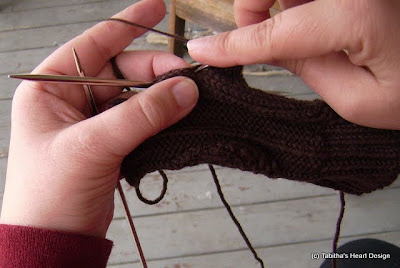
Arm yourself with a set of double pointed needles and prepare to knit the thumb. You will begin by carefully removing that piece of scrap yarn to reveal the live stitches.
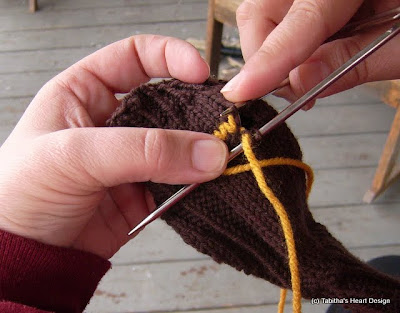
As each live stitch is revealed, you will pick it up onto one of two needles. This is a bit difficult to see because of the dark yarn but the process will make complete sense as you try it yourself.
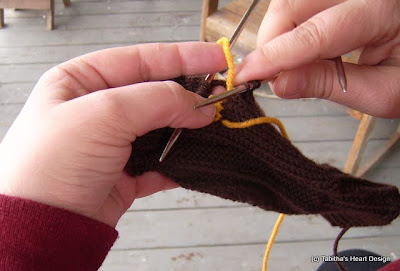
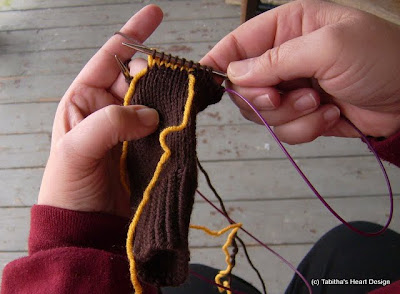
When you have completely removed the scrap yarn, you should have one less stitch on the top needle than on the bottom. In the case of Aragorn gloves, you will have 6 stitches on the bottom needle and 5 stitches on the top needle.

Next, pick up your yarn and knit across the stitches on the bottom needle. Please forgive the quality of the photography. Princess Buttercup is still learning.
Using a new needle, pick up and knit two or three stitches from the gap between the top and bottom needle to fill the space.
Knit half the stitches from the top needle onto this needle. Now picking up another needle, knit the remainder of the stitches from the top needle and pick up and knit 2 or 3 stitches from the gap between the top and bottom needle. I generally pick up three stitches on the palm side of the hand and two on the top side.
Once you have picked up all your stitches, you should be back to the first stitch on the bottom needle in a position to reclose the round. Knit or work the next round in pattern. I find that if I work the stitches that I picked up through the back loop, there is less chance of a visible hole at this point. After knitting one round to reclose the round you should have something that looks like this.

There you have it. The Afterthought Thumb. EZ as pie or was that pi.
Happy Knitting.
Thank you! The pattern had me confused but now I’m confident 🙂
Hello,
I wanted to thank you for the great post with pictures of how to make a great thumb hole.. I am making some gloves and this has helped me greatly , the way I was doing it was all wrong and the results were horrible. Thank you again for the great information 🙂 Robin